As the winter months began to roll in, I decided to attempt to build an airplane small enough, and maneuverable enough to fly inside my school’s gym. I found some foamie plans online, and picked out the lightest electronics I could find (at a reasonable cost).
- 28g Brushless Motor
- 10A ESC
- Hextronix 5g Servos
- 500mAh 2S Li-Po battery
- GWS 8×4 Prop
- And the Fly Sky 6ch receiver
An expert may have been able to tell me that a plane that would lift all that would be pretty tight in a single basketball sized gym. But I didn’t know that yet.
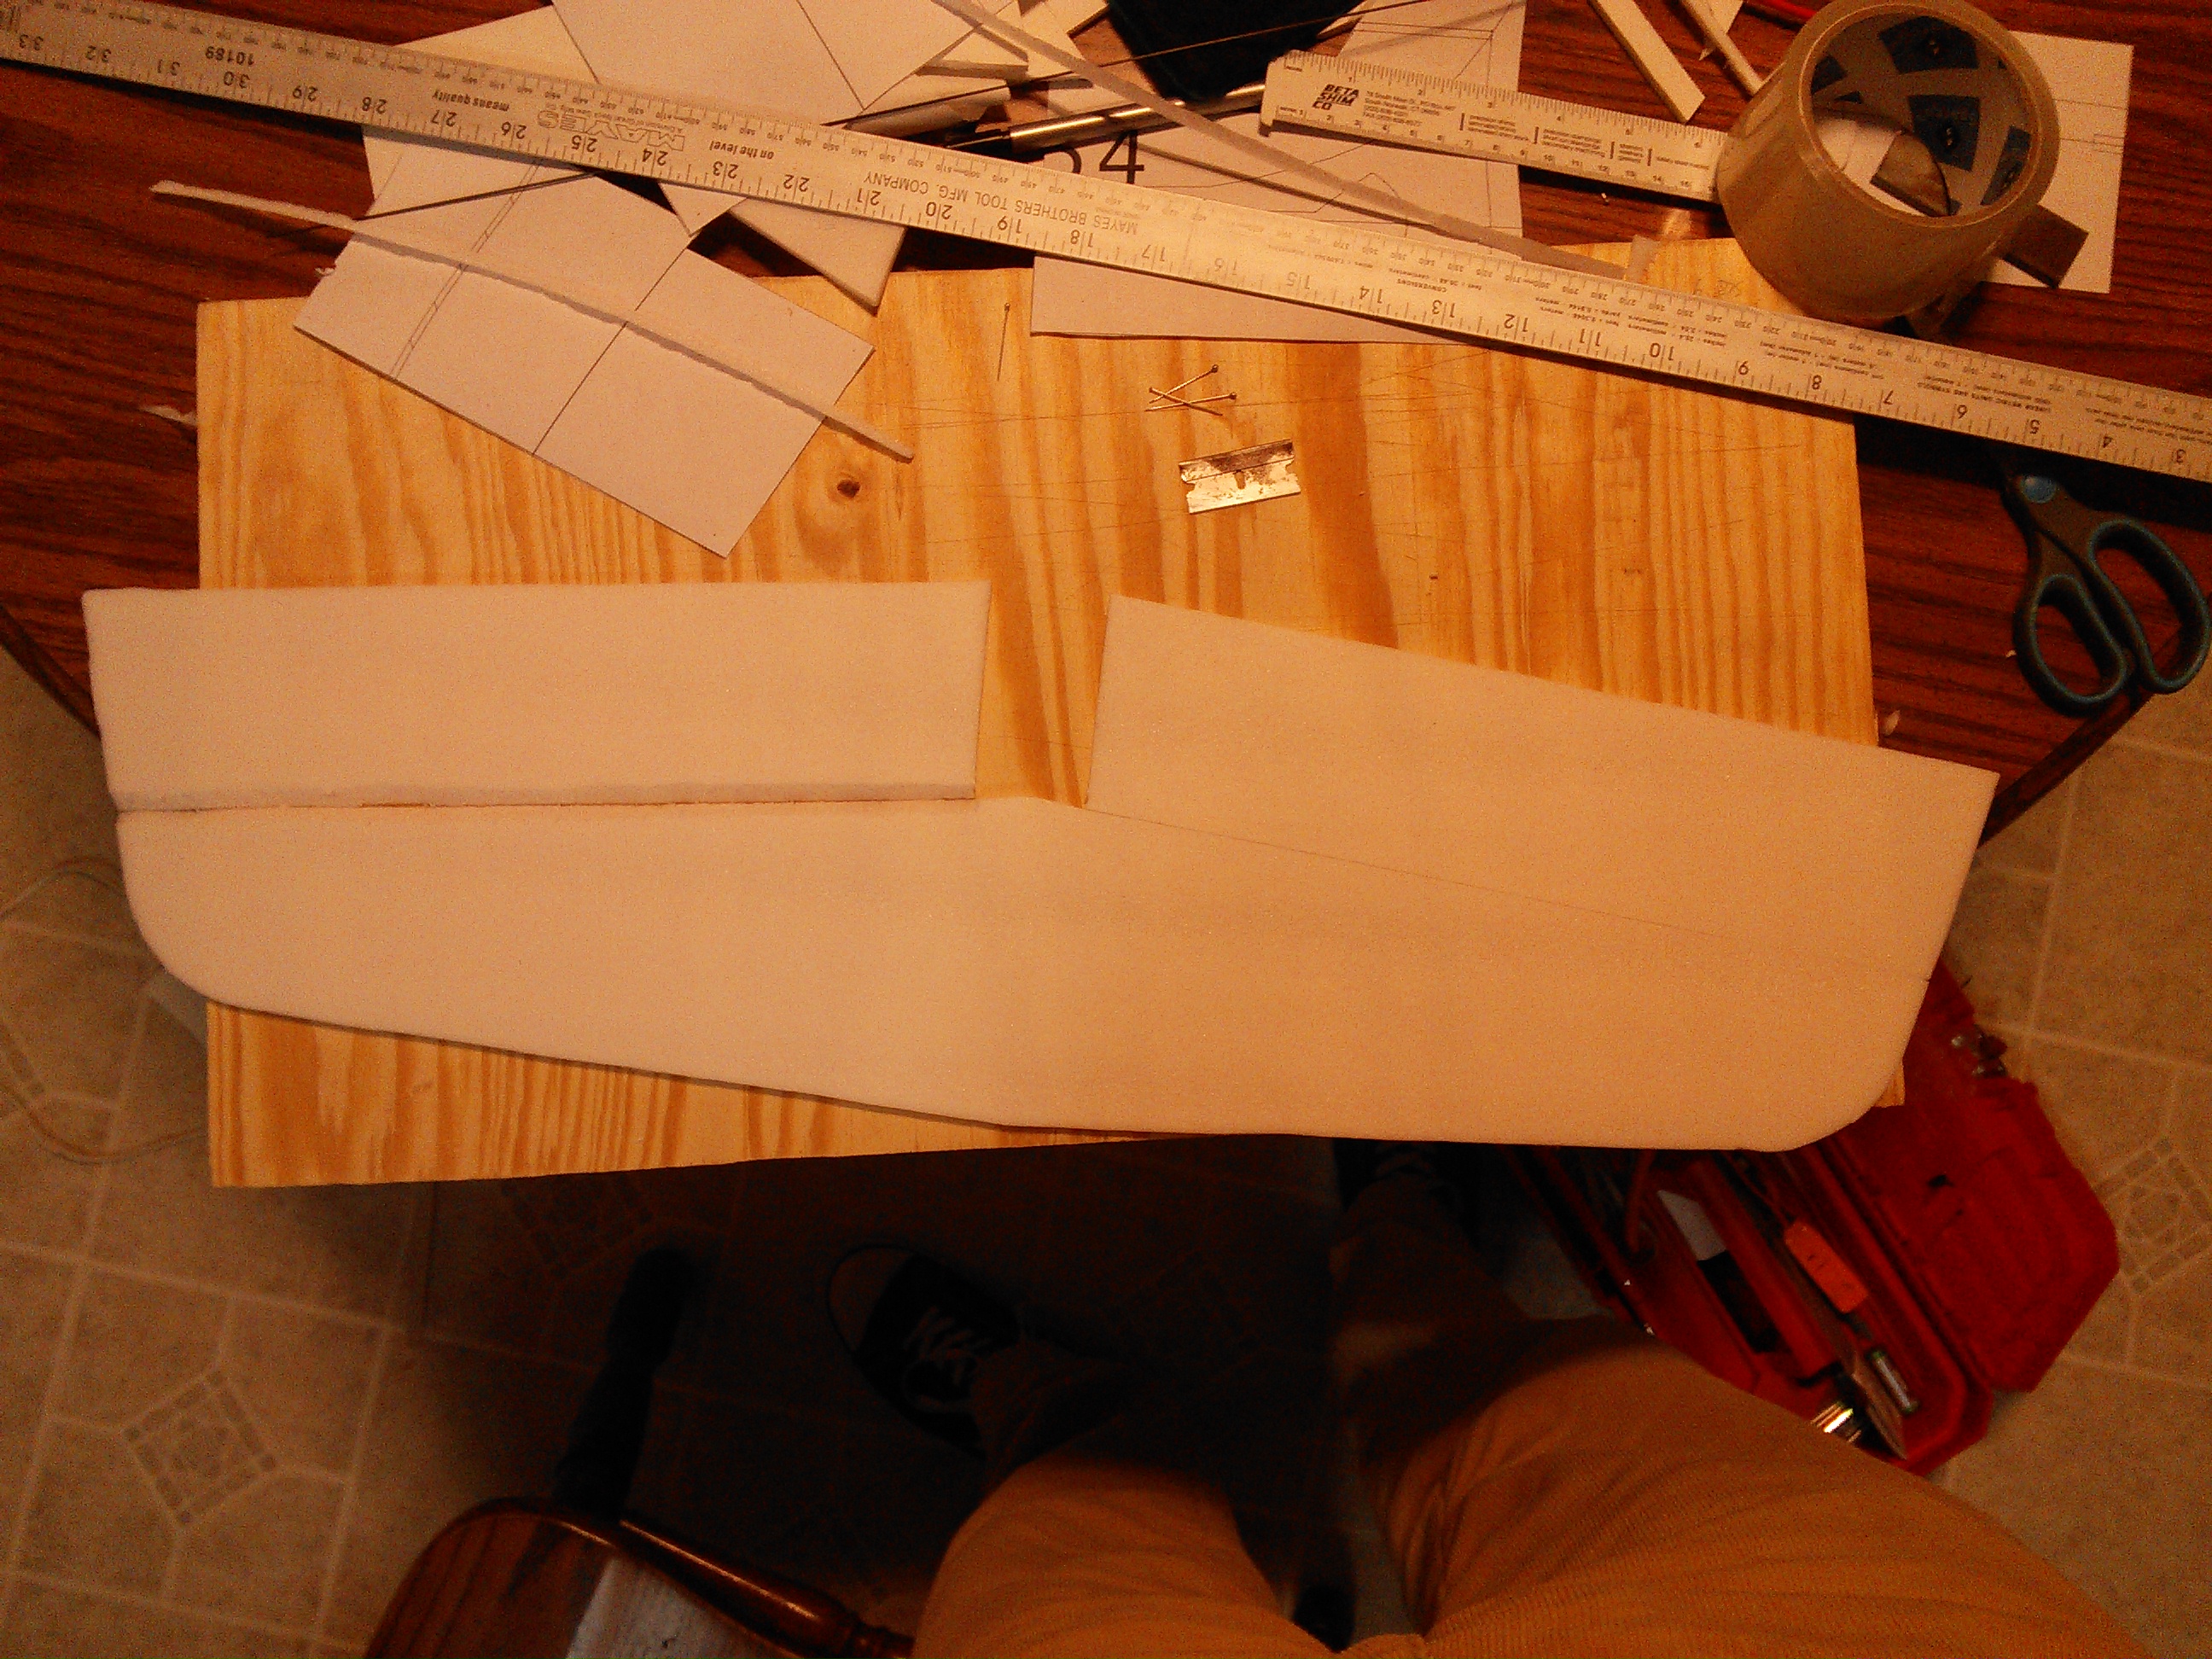
I began cutting out the foam board and it was exciting to watch it take shape.
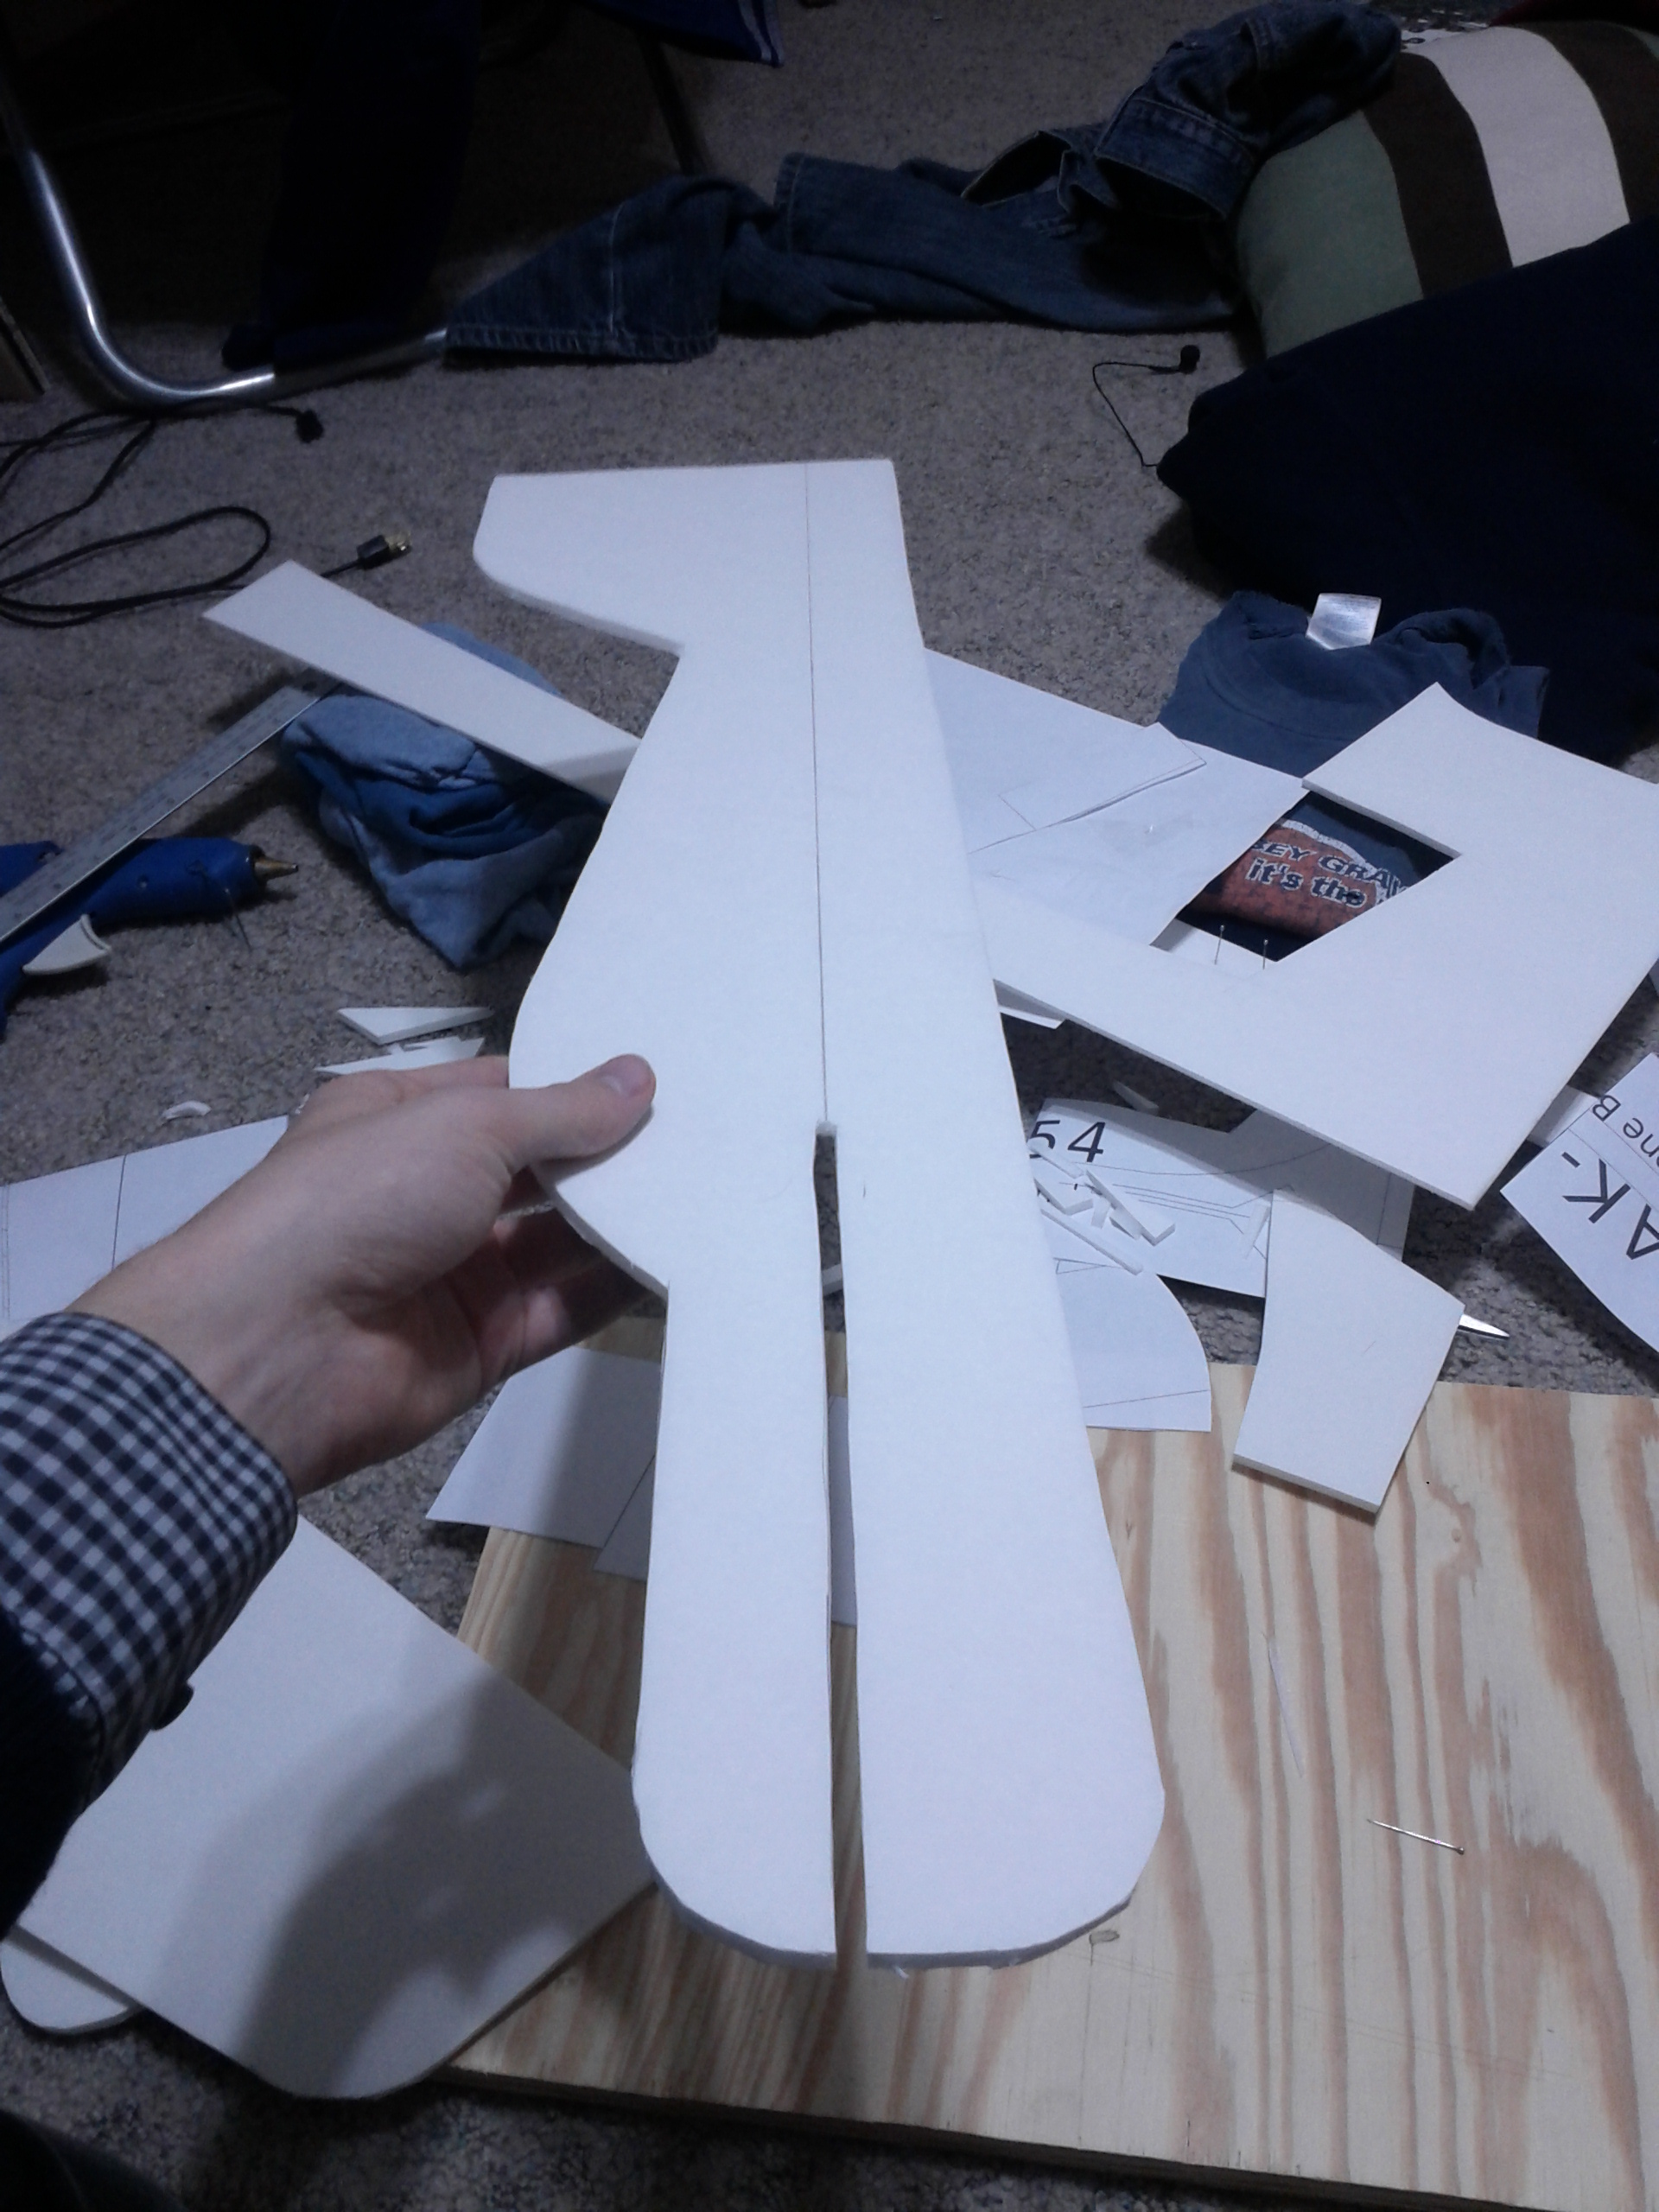
And then the pieces began coming together.

After doing a bit of research and reading on forums and such, I decided that the paper may be adding a LOT of weight to the foam board. See this blog post about my discoveries.
So I decided to strip the paper, and use carbon fiber to reinforce where necessary.
And then there was nothing in my way but a night of building.
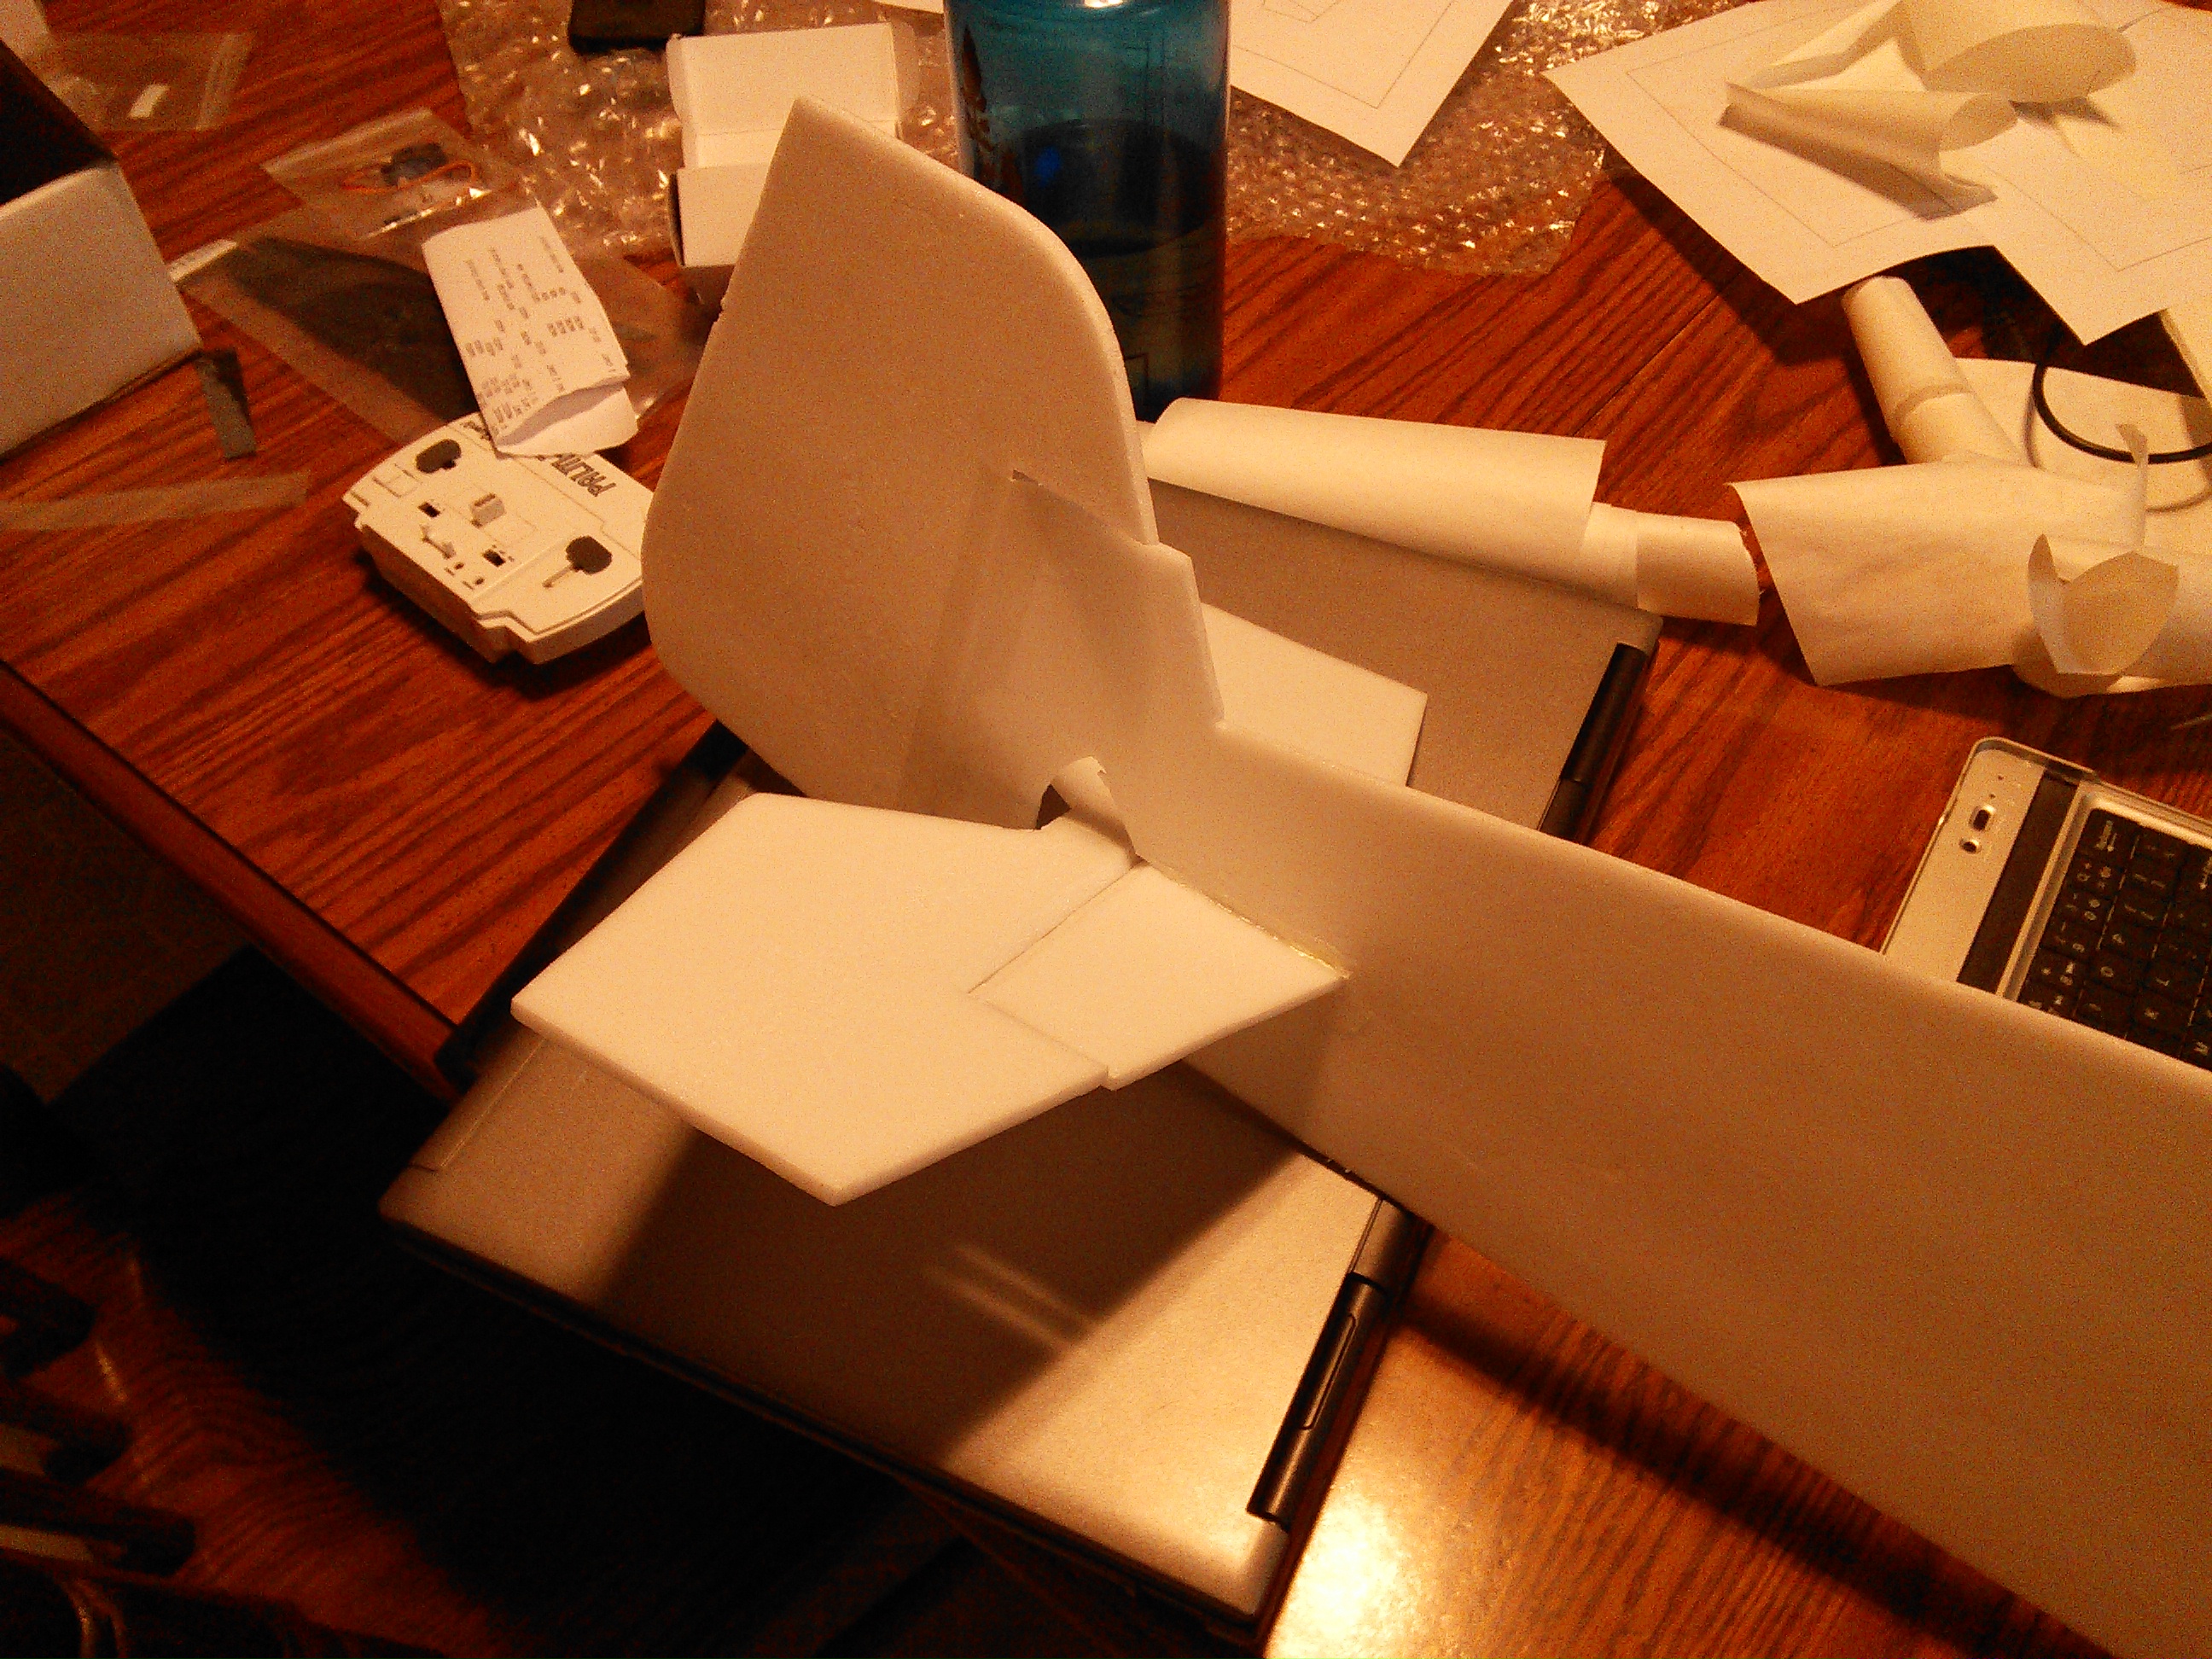
There’s the wing assembly.
And here is the tail beginning to take shape.
The servos were mounted, and carbon fiber struts were installed. I used 1mm CF rod for this. It has a lot of pulling strength, but tends to bend when pushed. I eventually added struts to both the top and bottom of the wings.
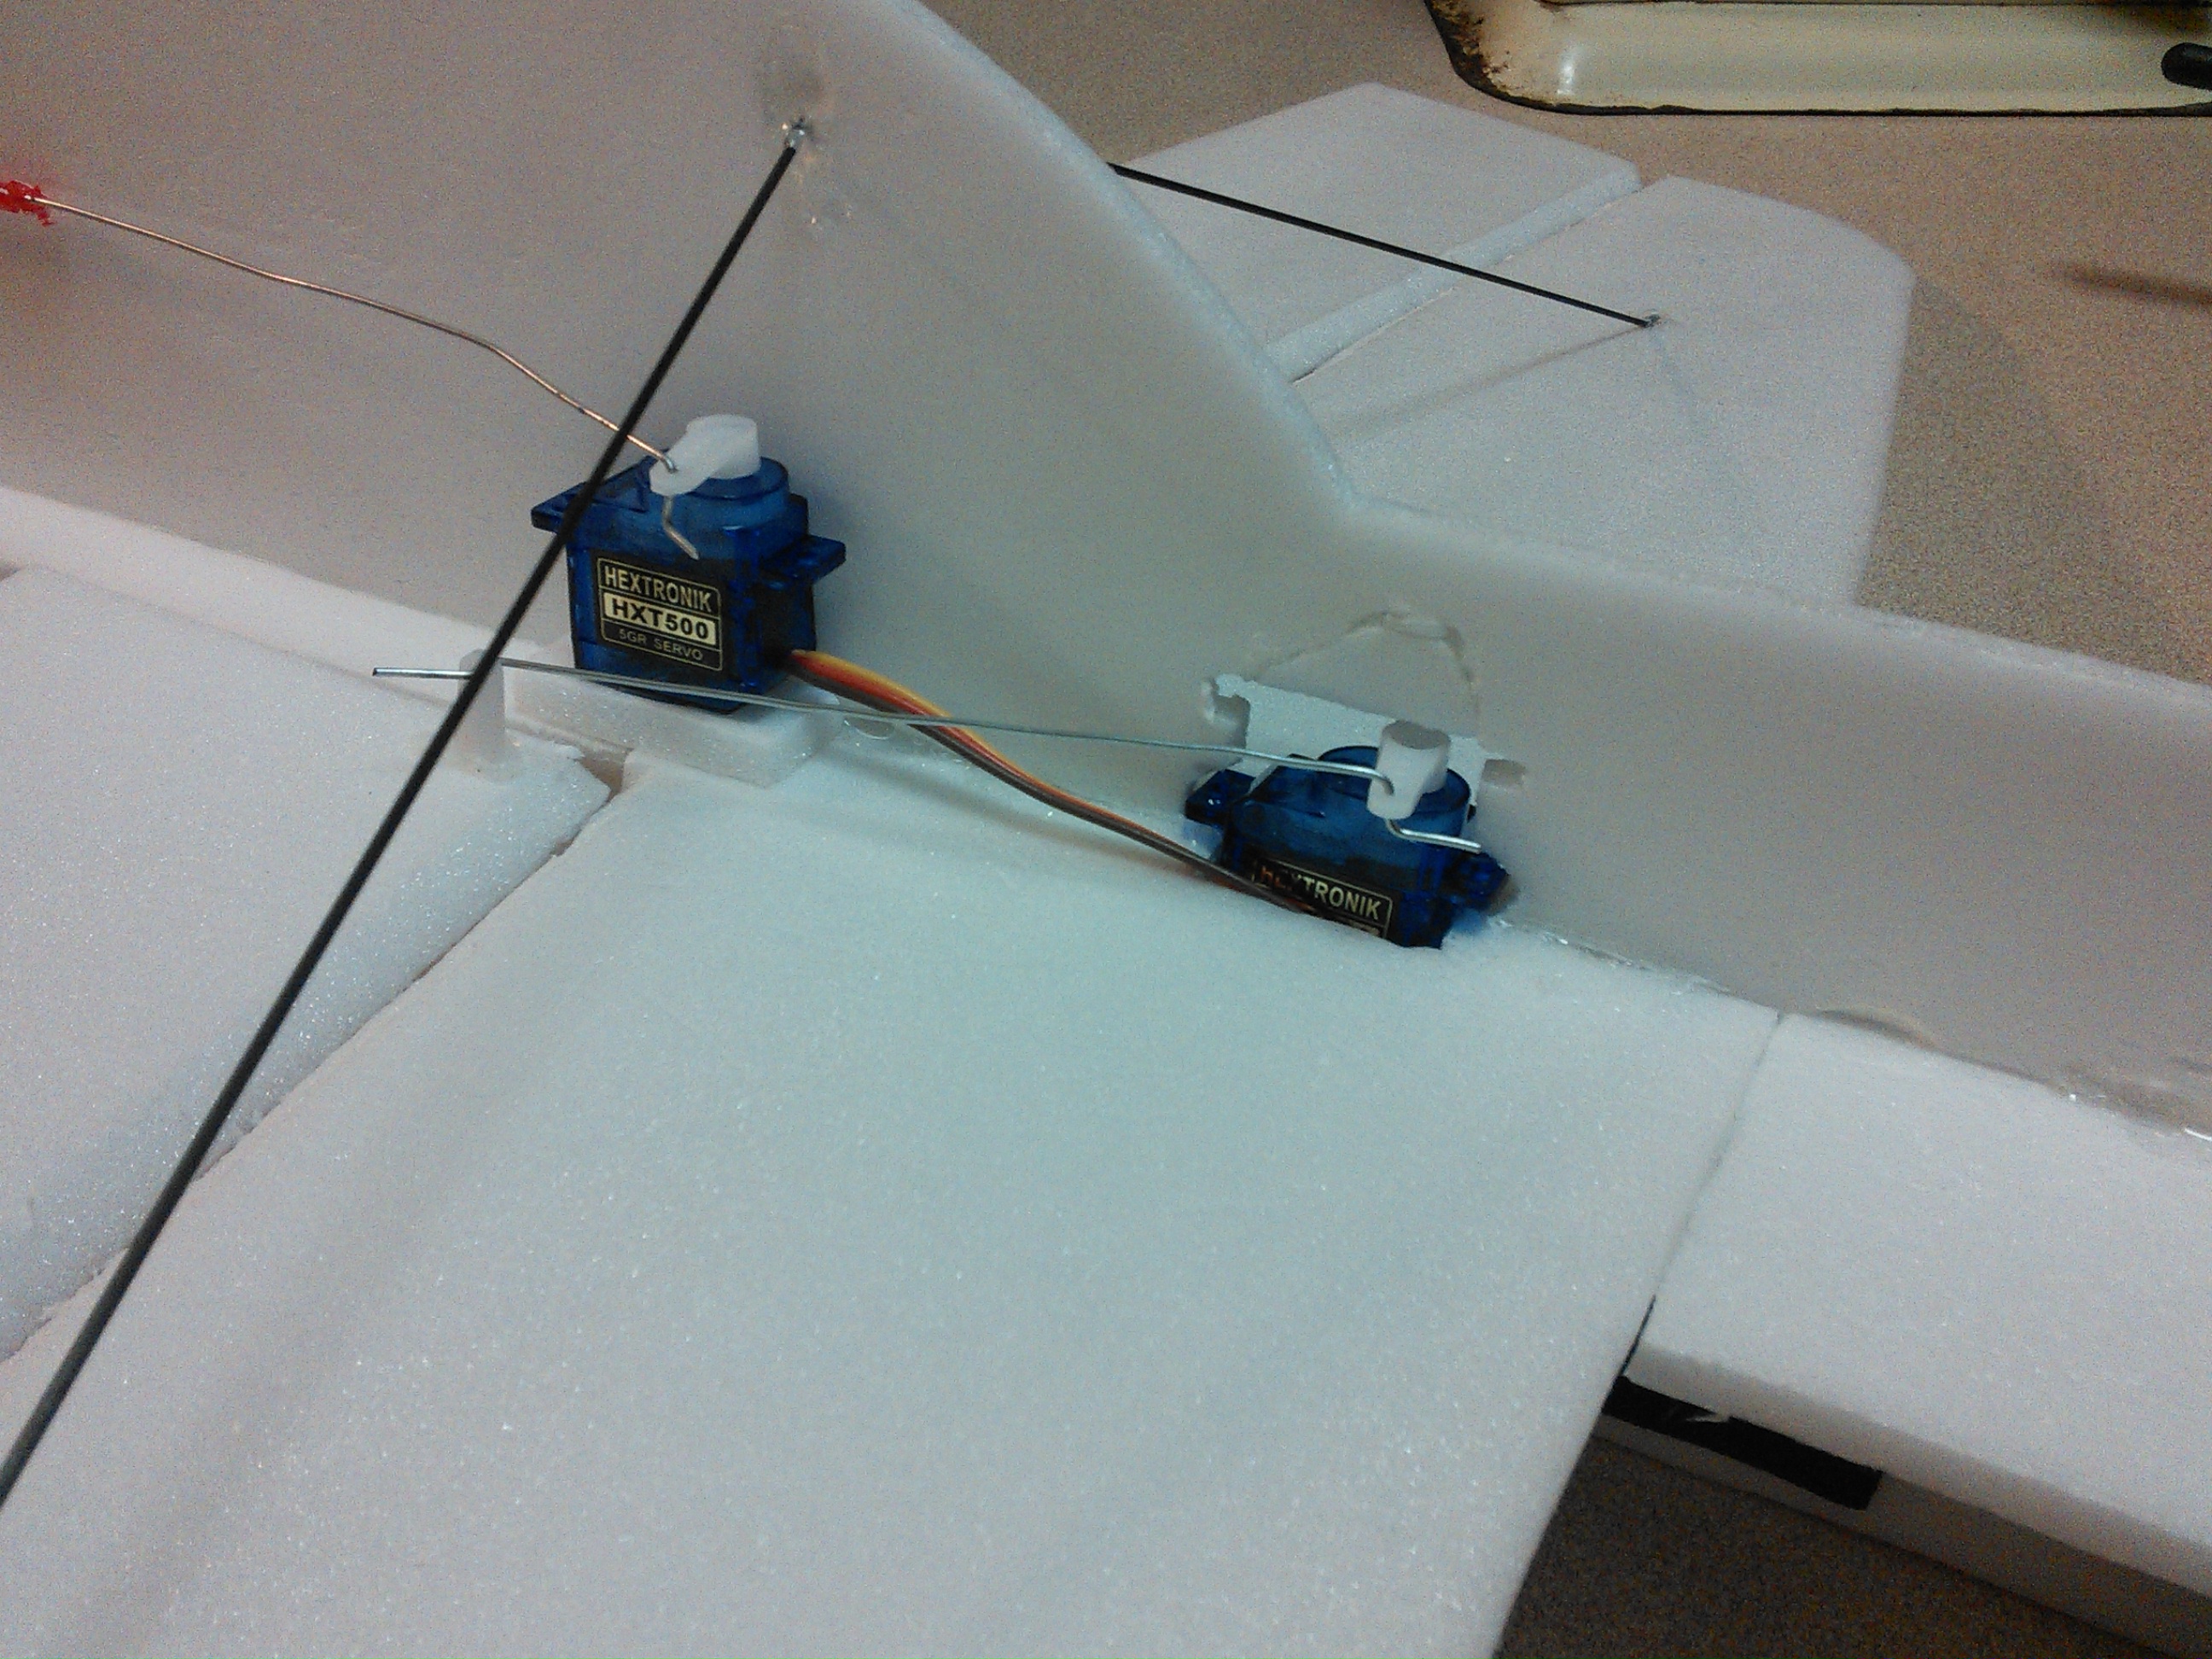
Hextronik HXT500 5g servos were used.
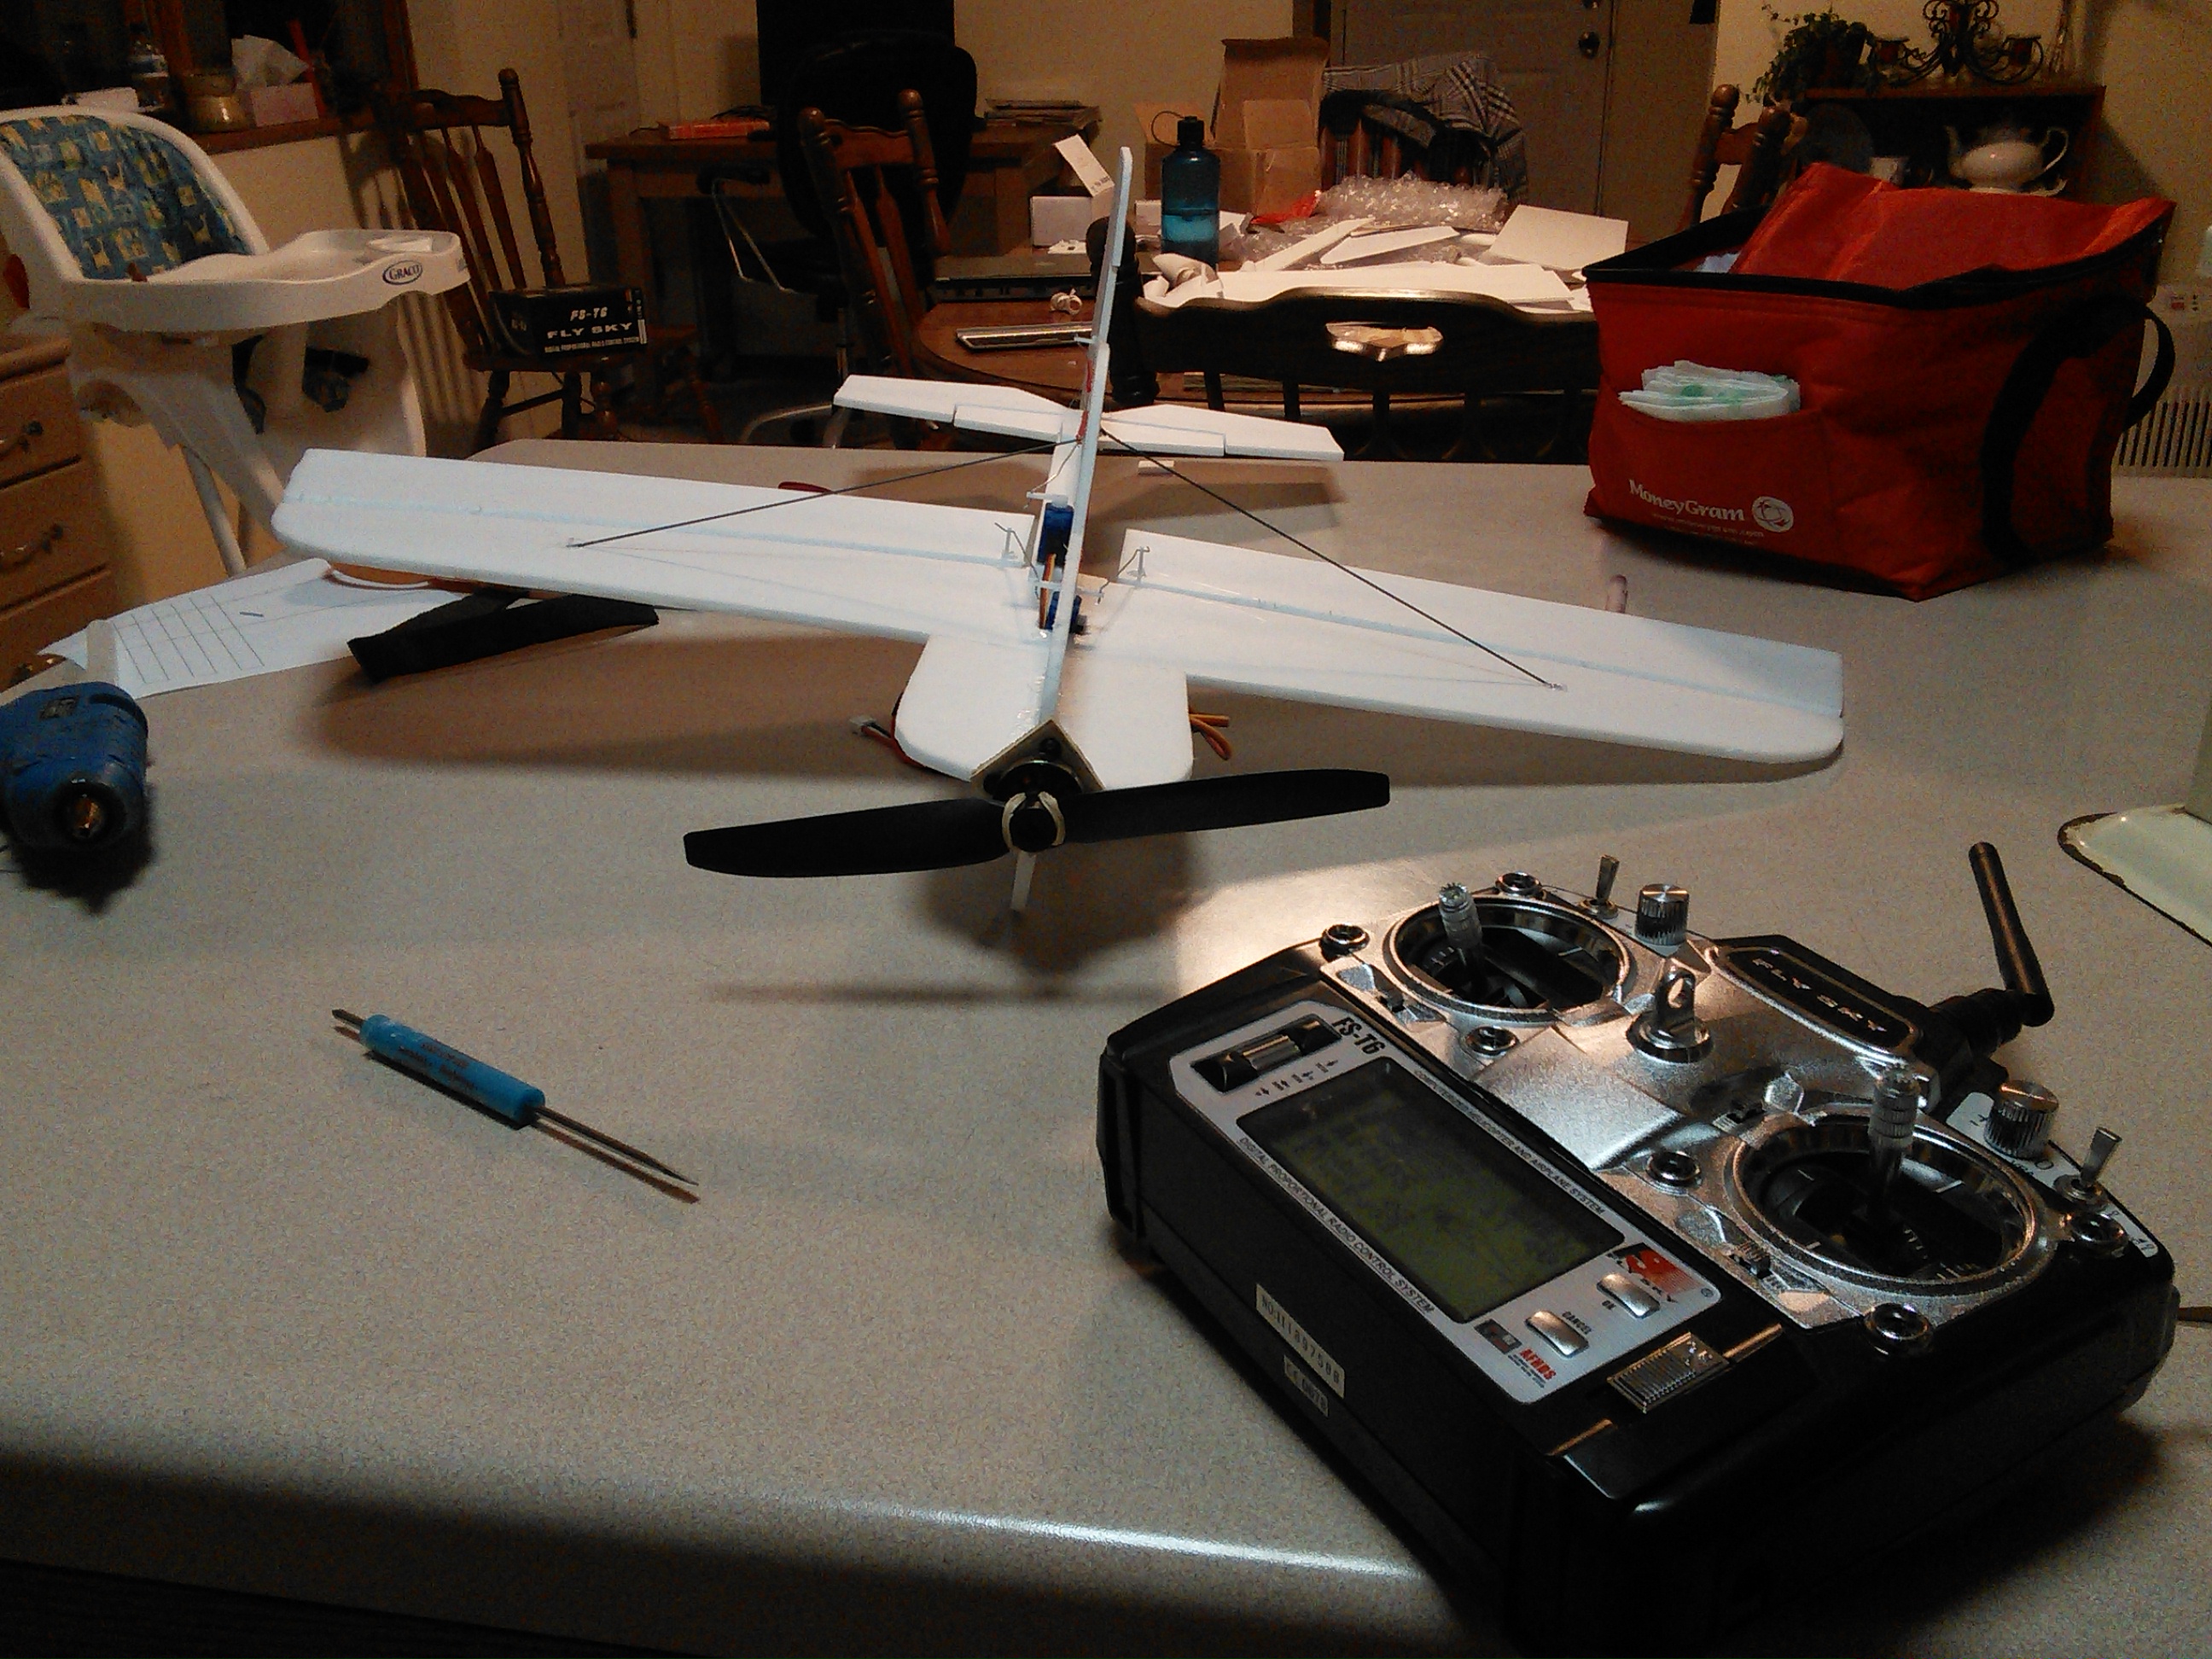
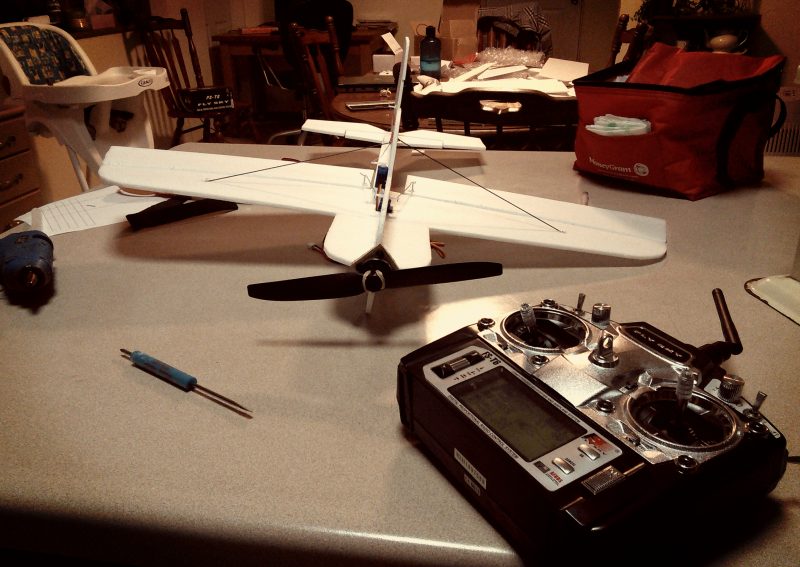
Here it is all finished!
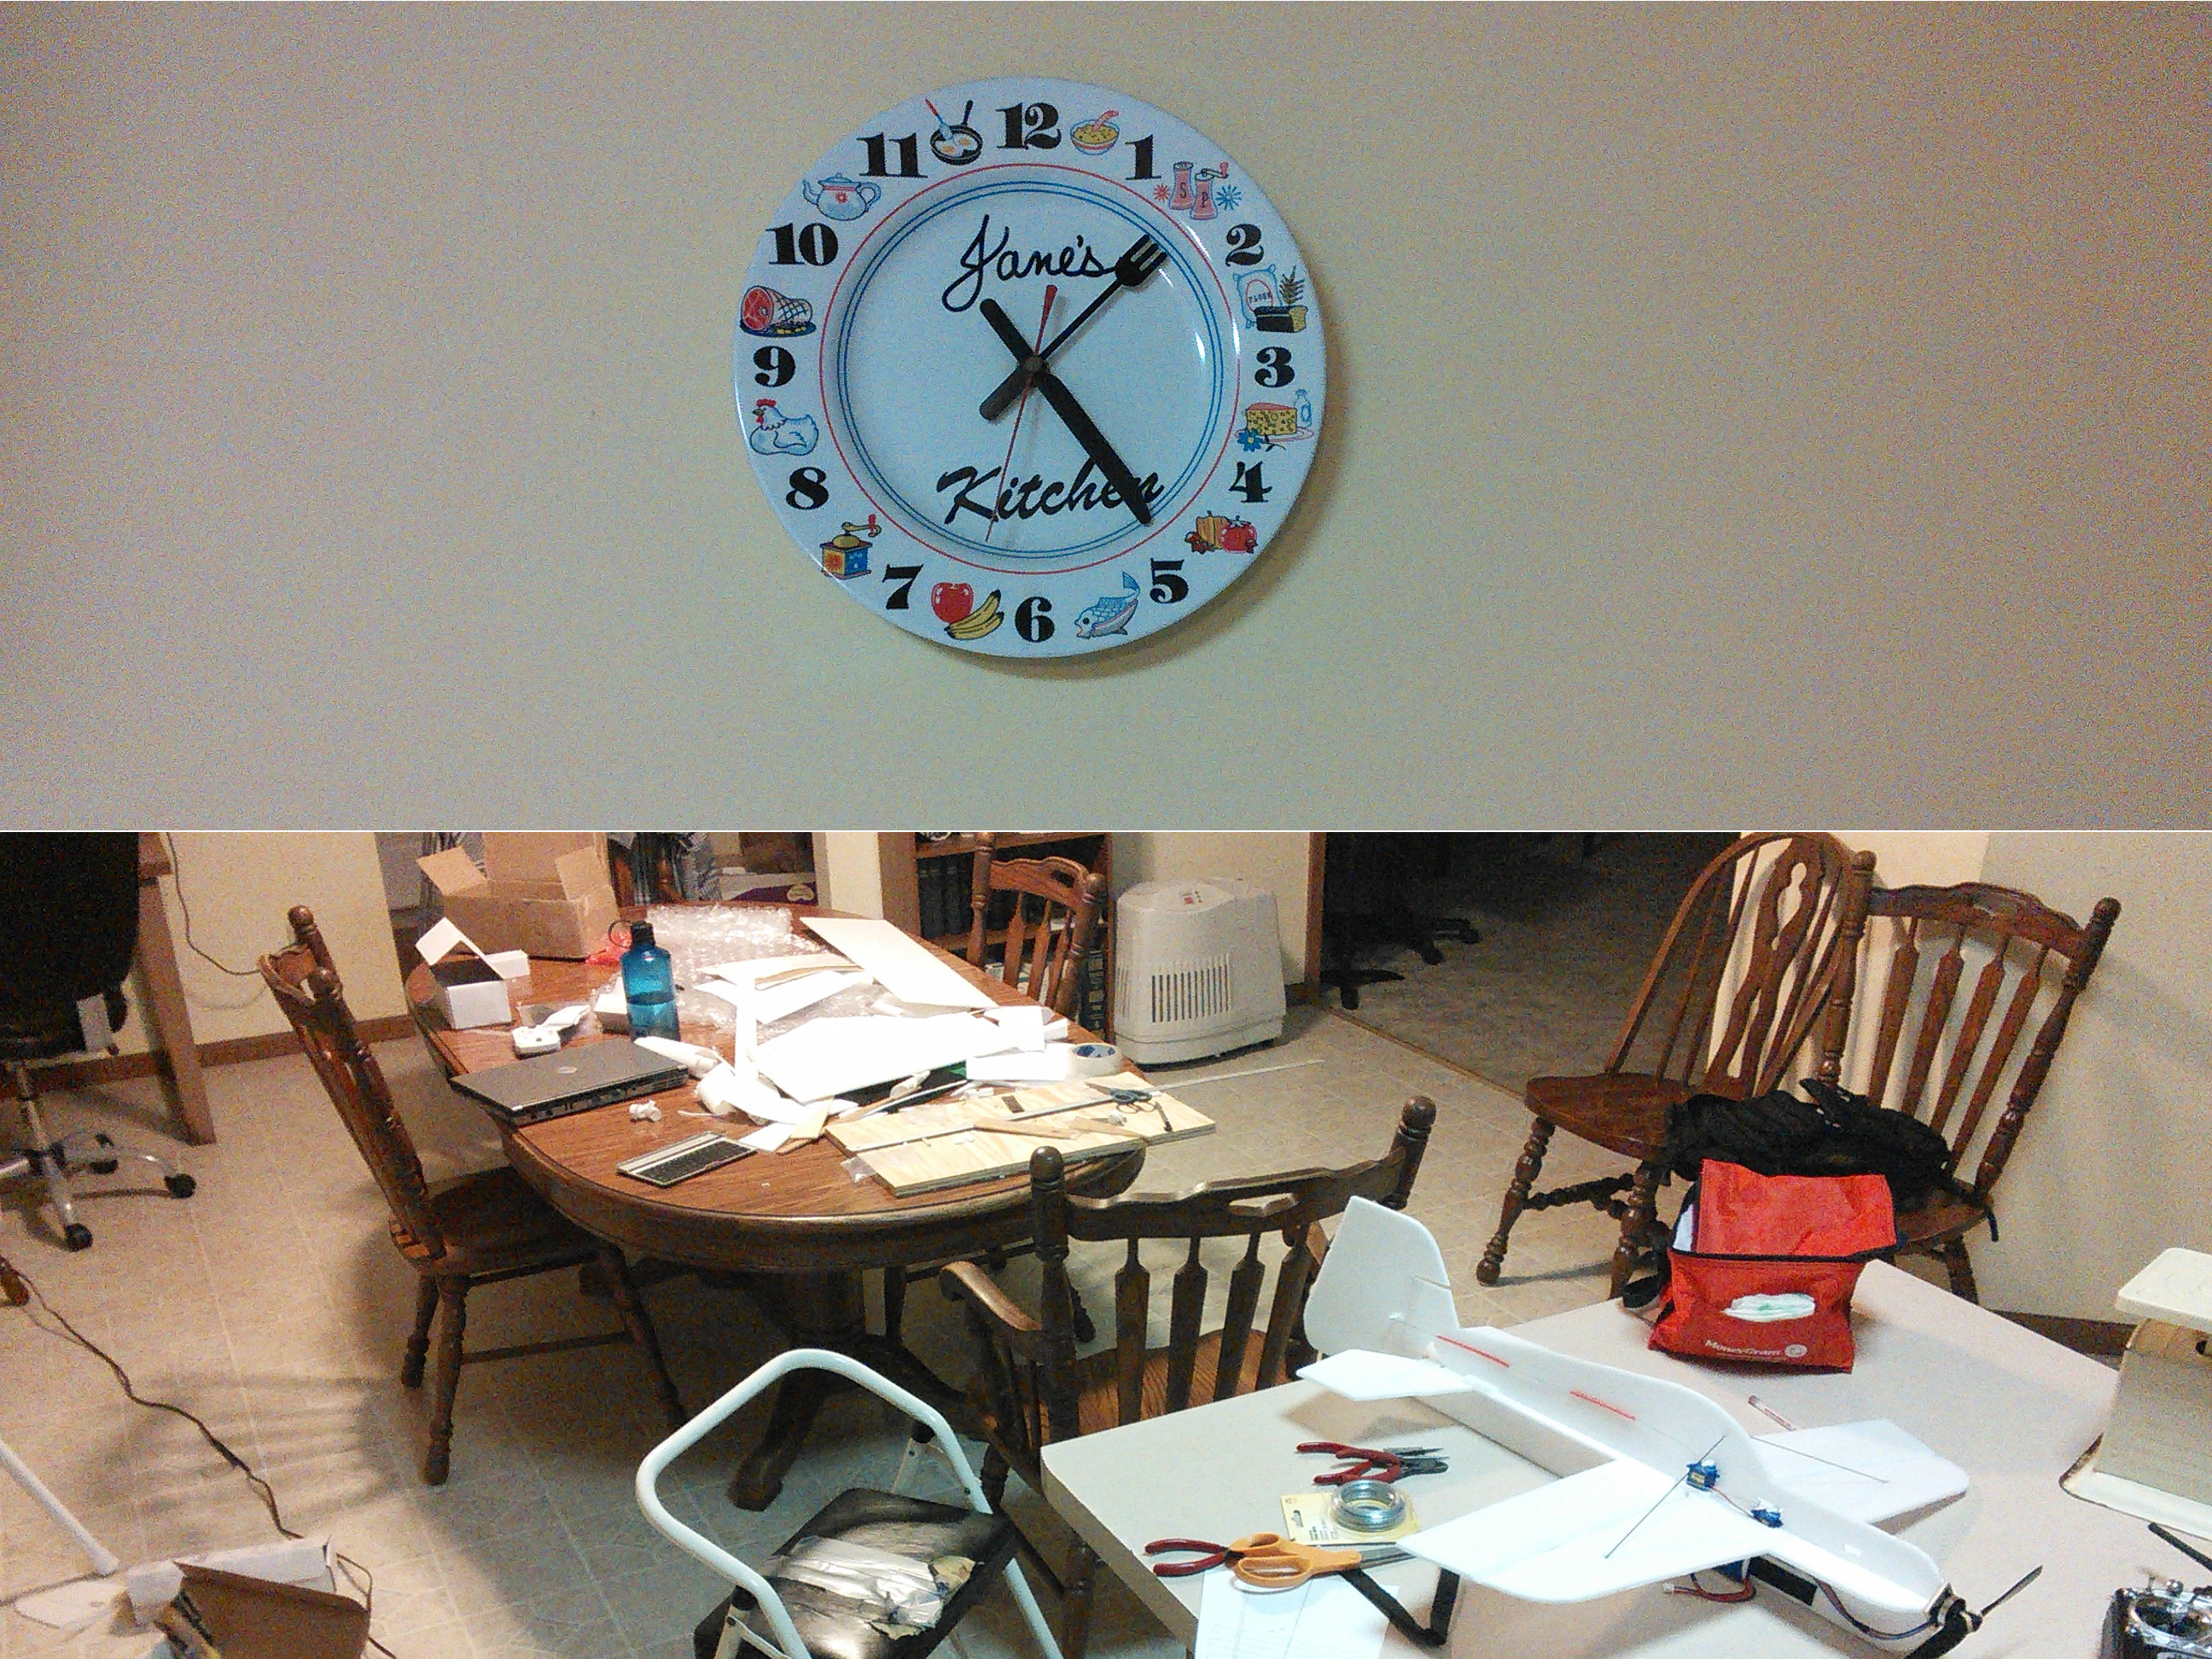
The aftermath in the kitchen area was quite profound at 1:24am. It was sort of a beautiful mess though…
The next morning I used some large point Sharpies to color it and give it a bit of a paint scheme.
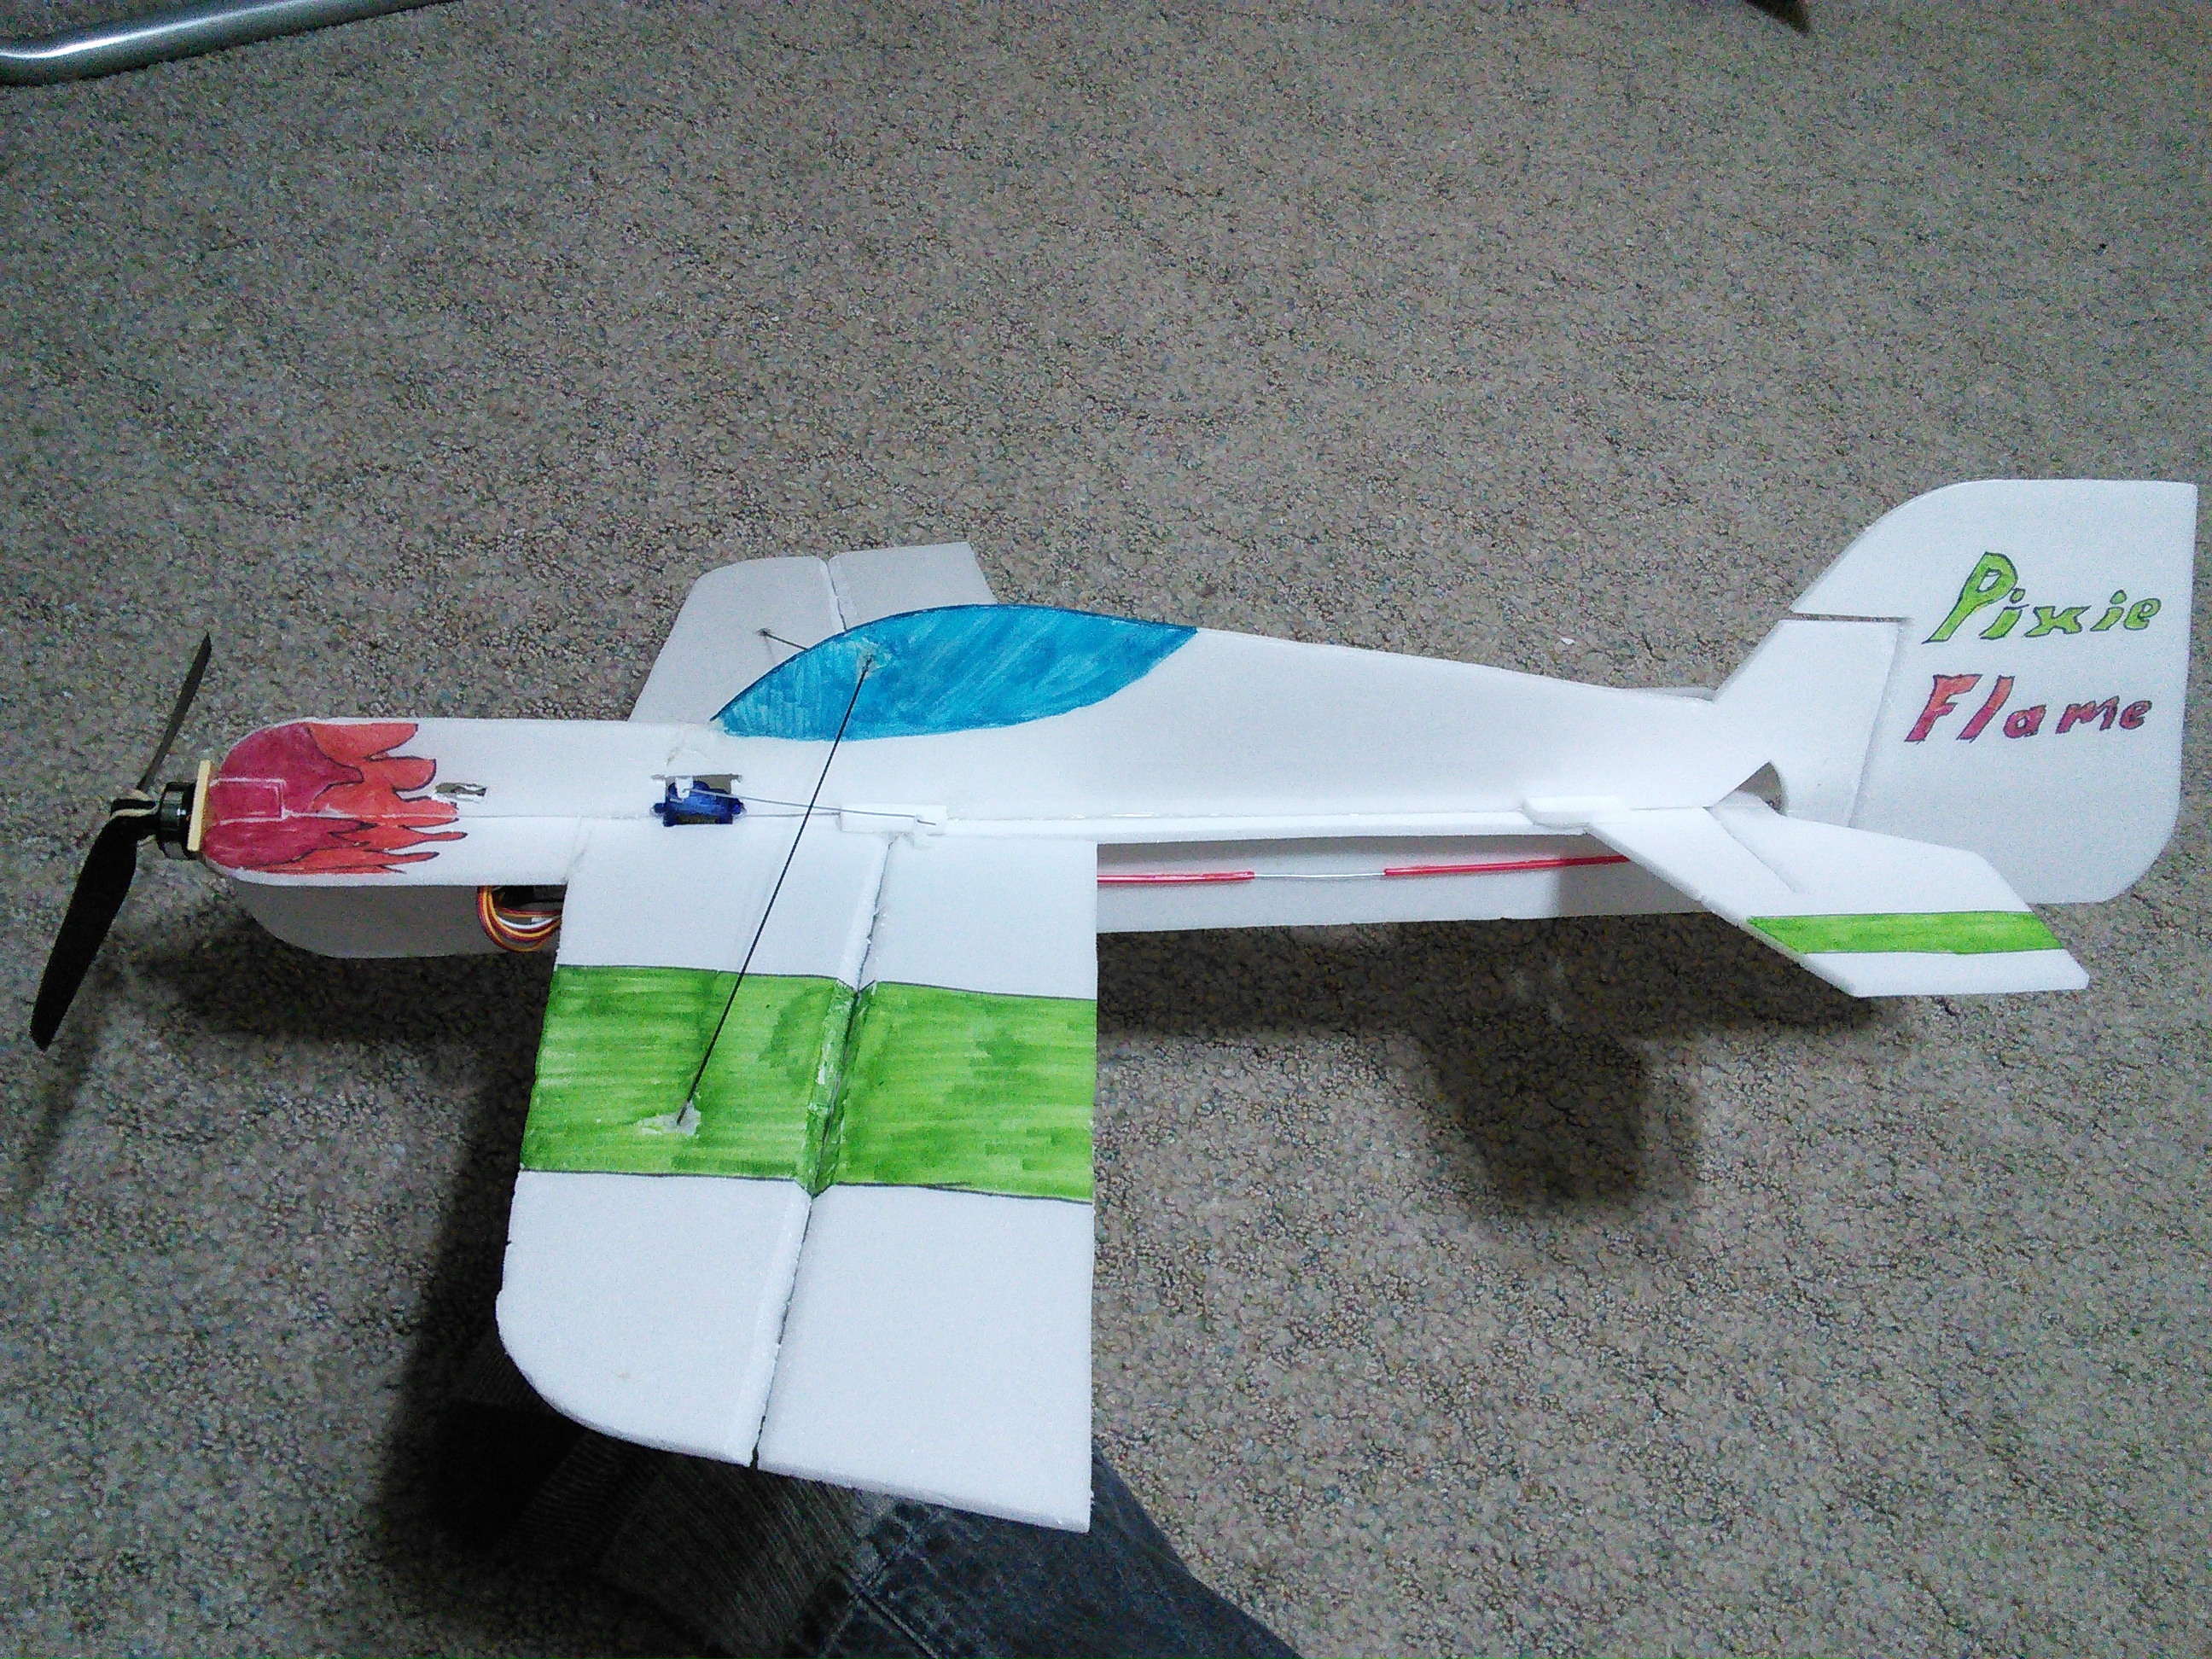
Admittedly, I’m a more apt engineer than artist. But Pixie Flame and I were both moderately happy with it. 🙂
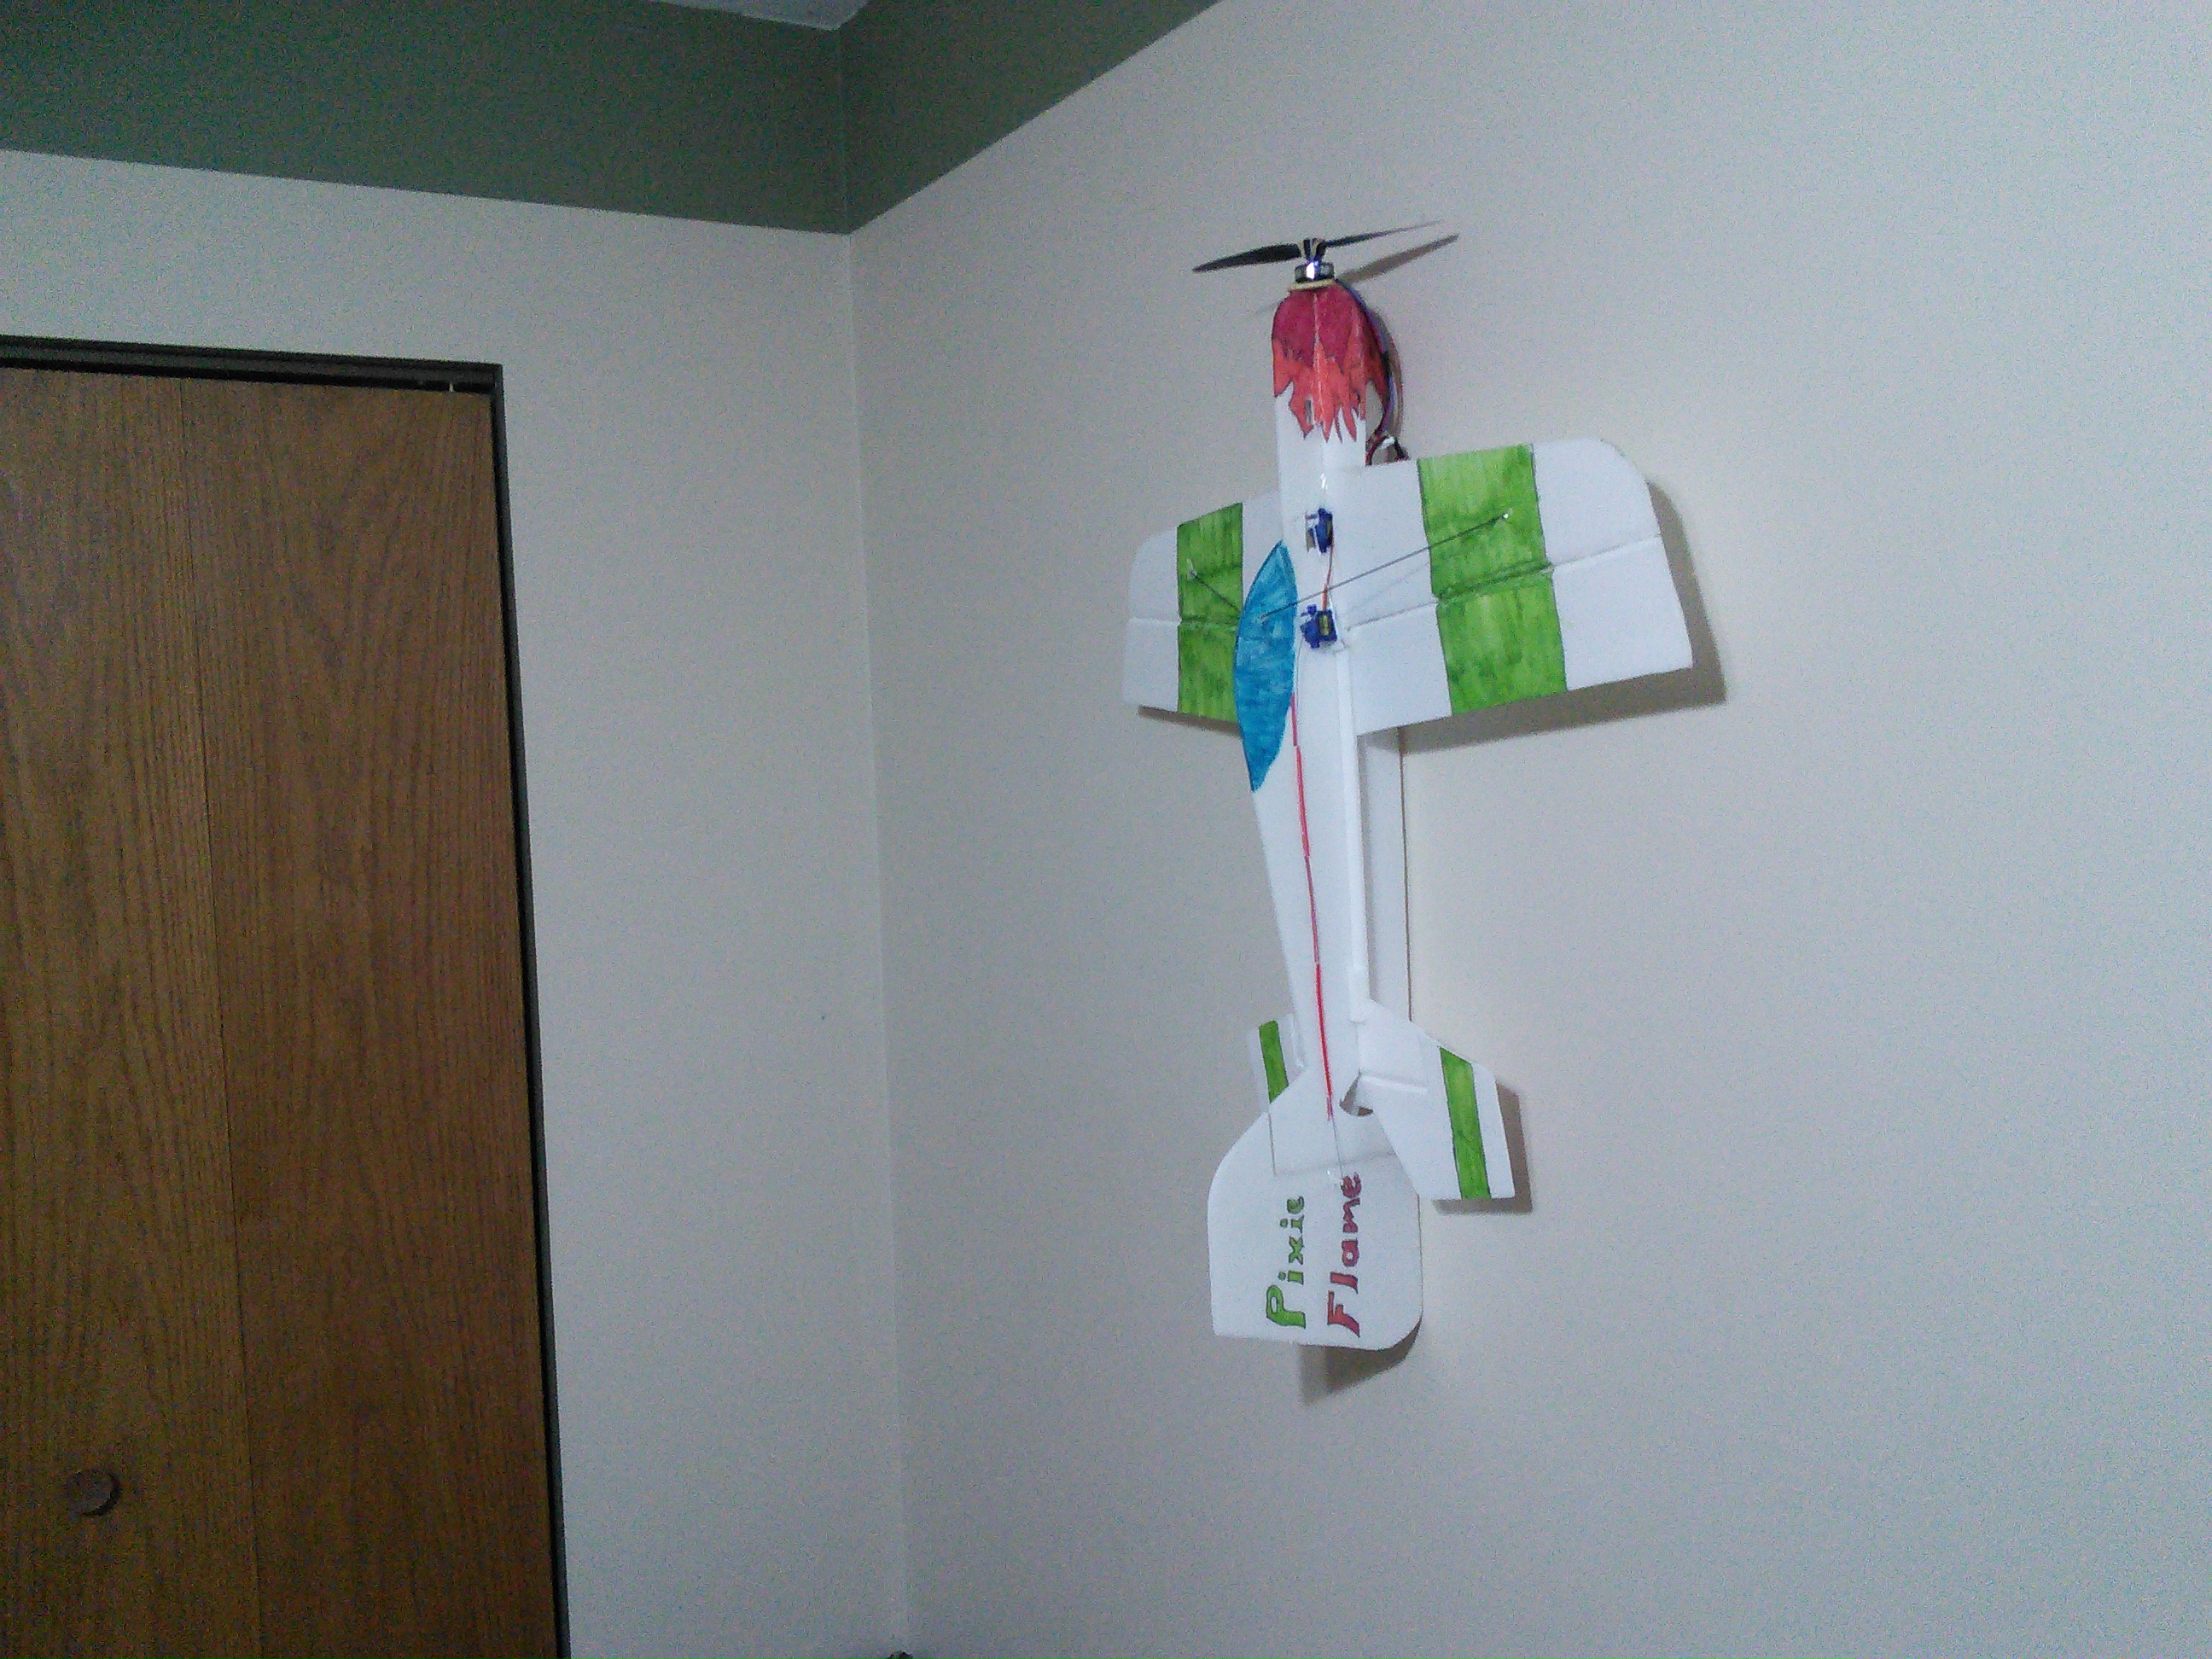
And she hangs nicely on the wall!
Now for a bit more story. This build was several months ago. There were several major things that came about after my original design which I would totally do from the start if I were to build her again.
- A solid horizontal piece along the fuselage. I used several pieces, and it would have been much stronger had it been all one piece all the way along.
- Color it right away. I flew it without any coloring, and it was VERY hard to tell which way it was going.
- Add carbon fiber struts on both sides of the wing right away. The wings would flex in high-g maneuvers.
- Sand the ends of the carbon fiber rods before gluing. Carbon fiber doesn’t stick to hot glue. Mostly because it’s not porous. But sanding helps a lot, so next time, I’ll do that from the beginning.
Since I built this plane, it’s taken quite a beating. Mostly from me trying to do 3D stuff that I’m not very good at. 😀 But the durability of this plane has amazed me. It’s taken a LOT.
Also, this plane did fly inside a single basketball sized gym, but it was REALLY tight, and I was lucky to sustain a flight without a crash. If I had a double-wide gym sometime, it would probably fit a lot better. Or, if I was a good 3D pilot, then it would also be fun, but I’m not yet. 😀
But before I scrapped the plane for a rebuild, I took a video of me flying it in the snow.
Here it is. And thanks for reading. 🙂
Sorry about the autofocus. Evidently my Nexus 7 just wasn’t sure what was important.